LV Imagery
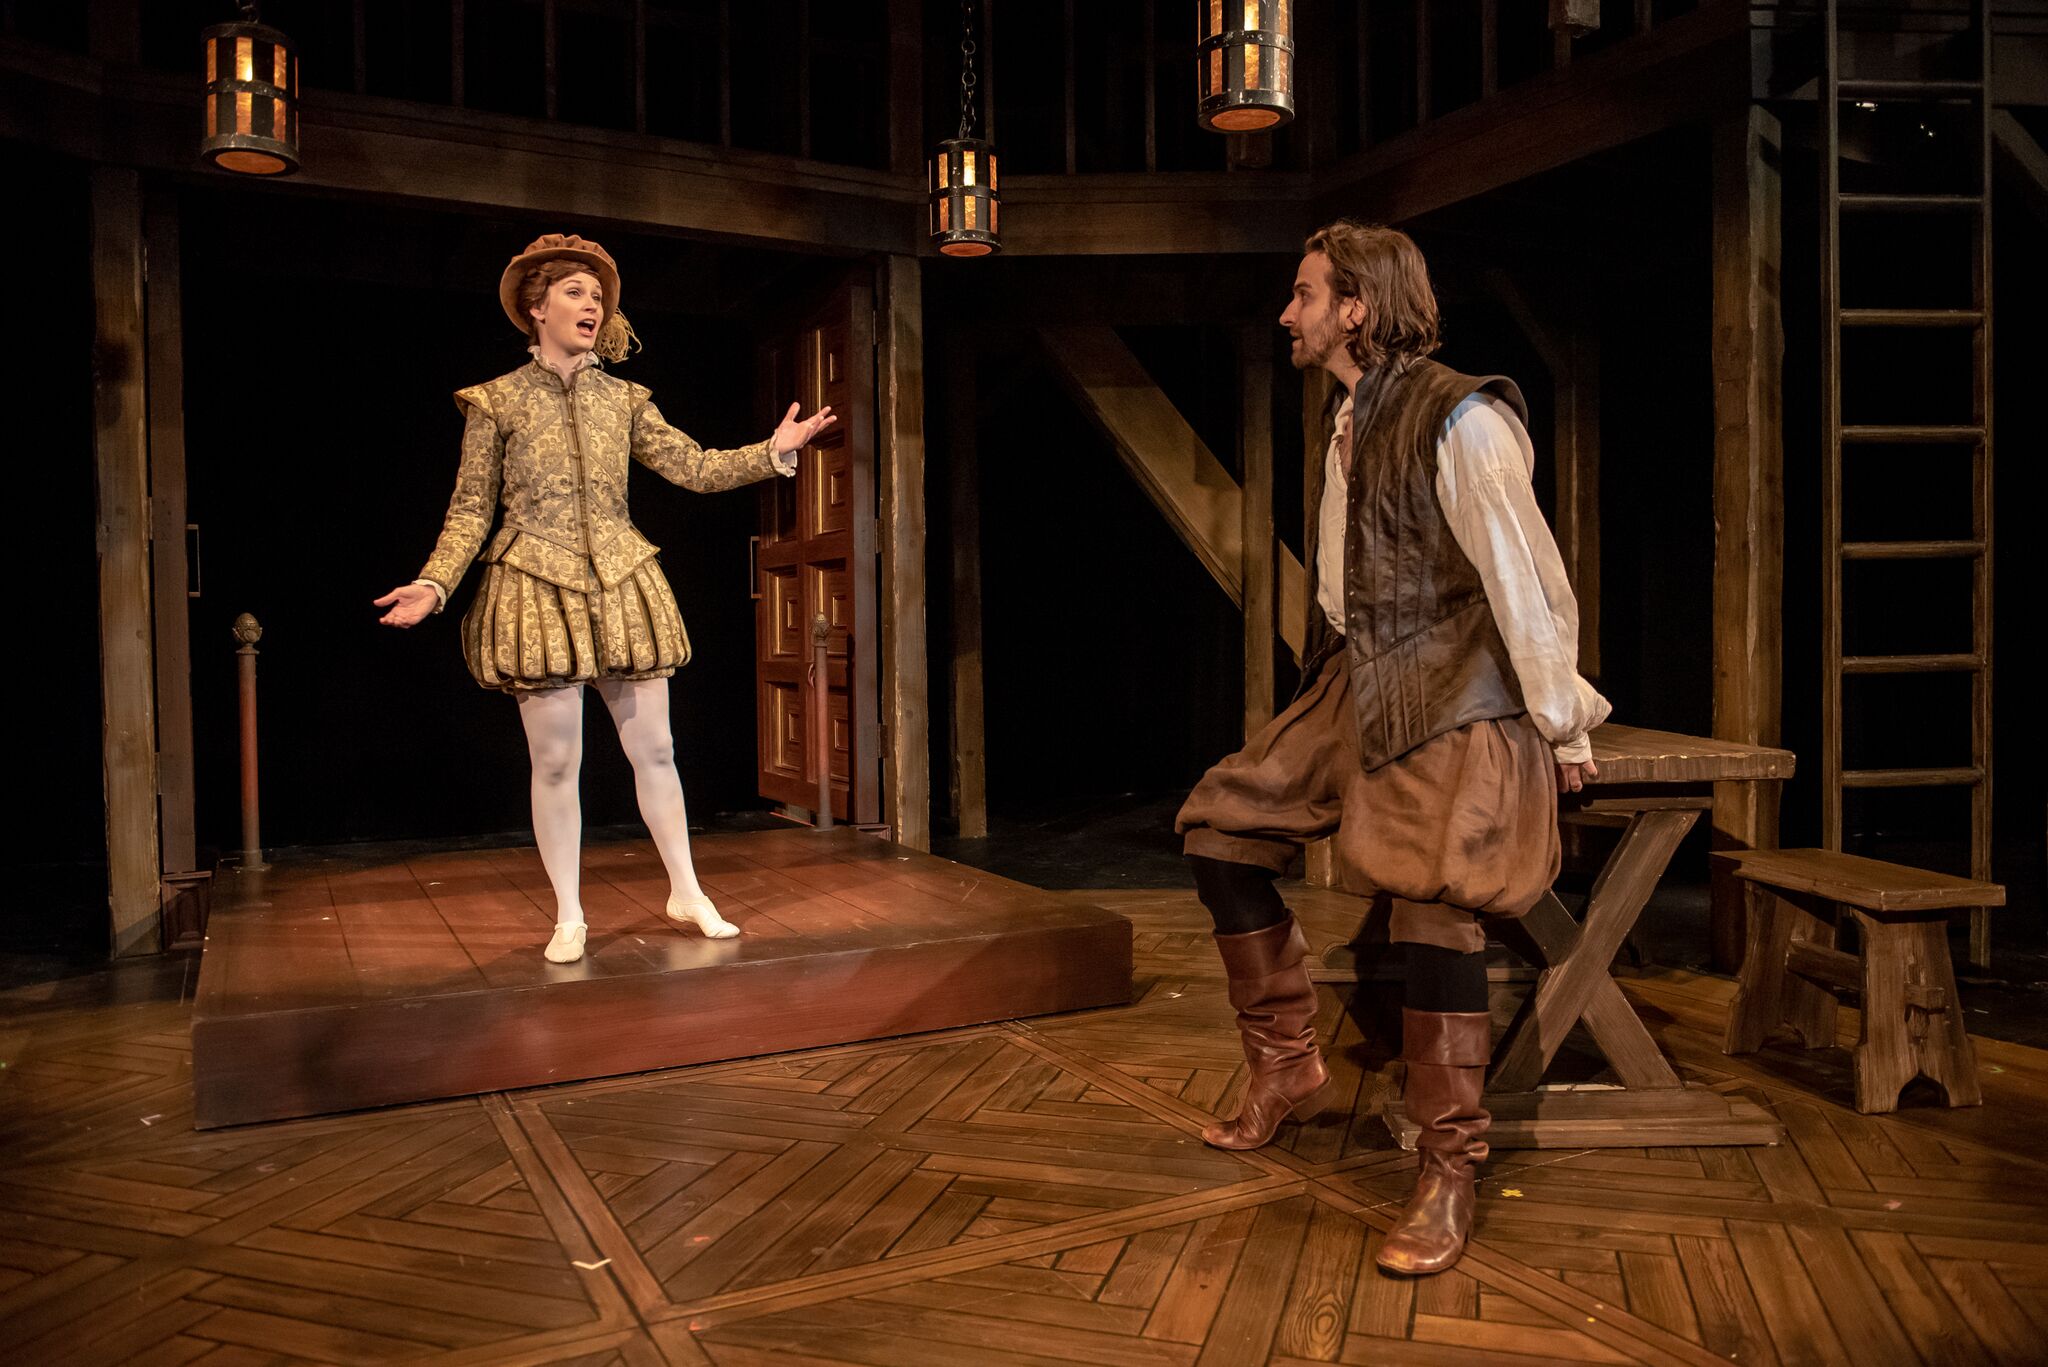
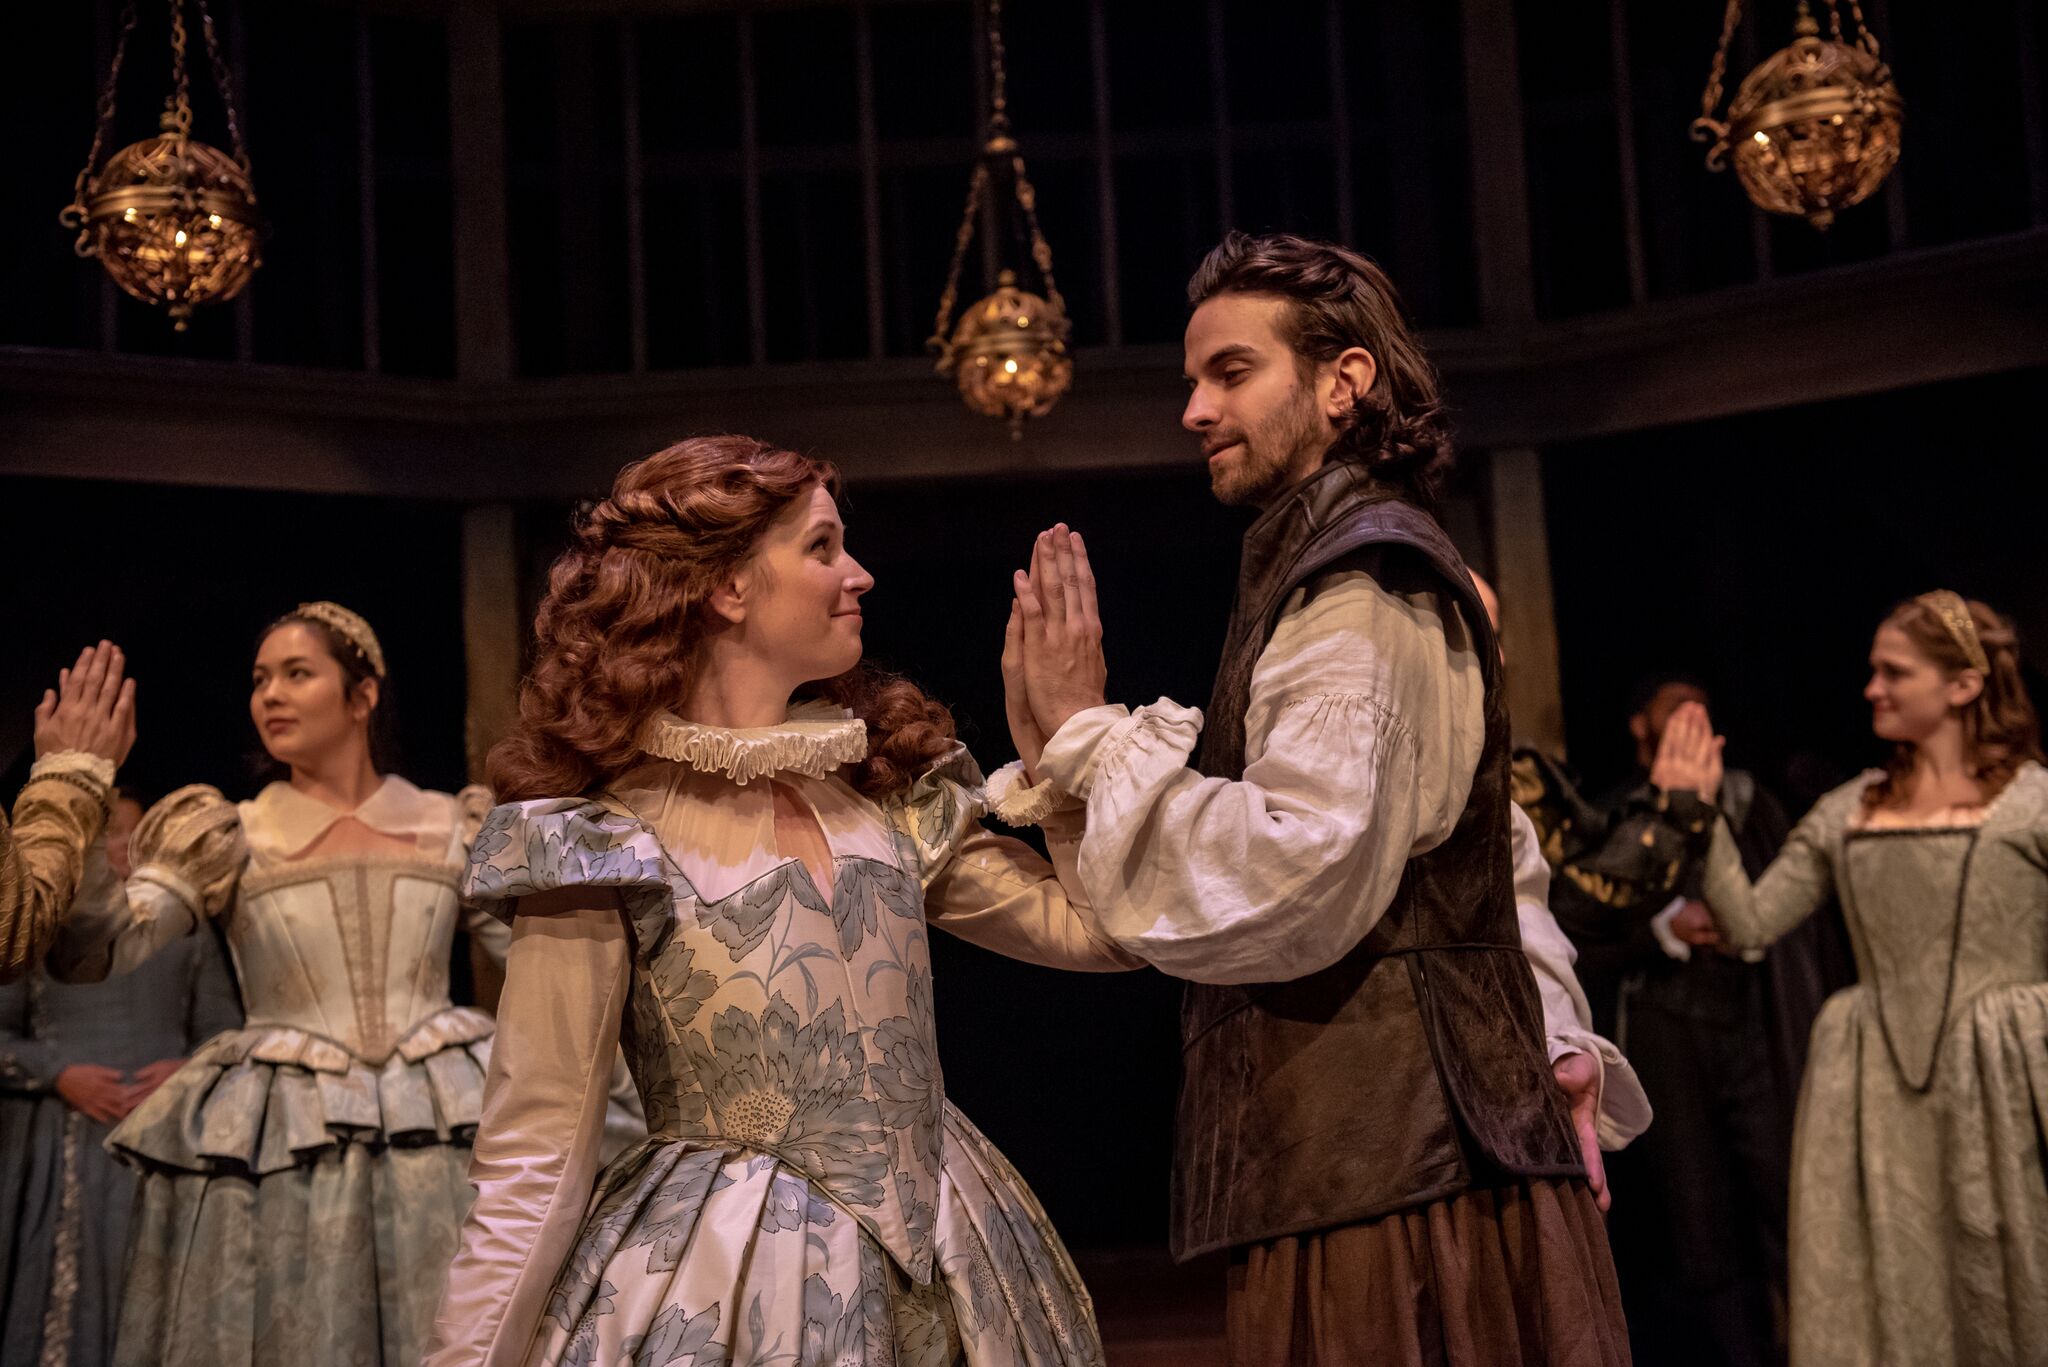
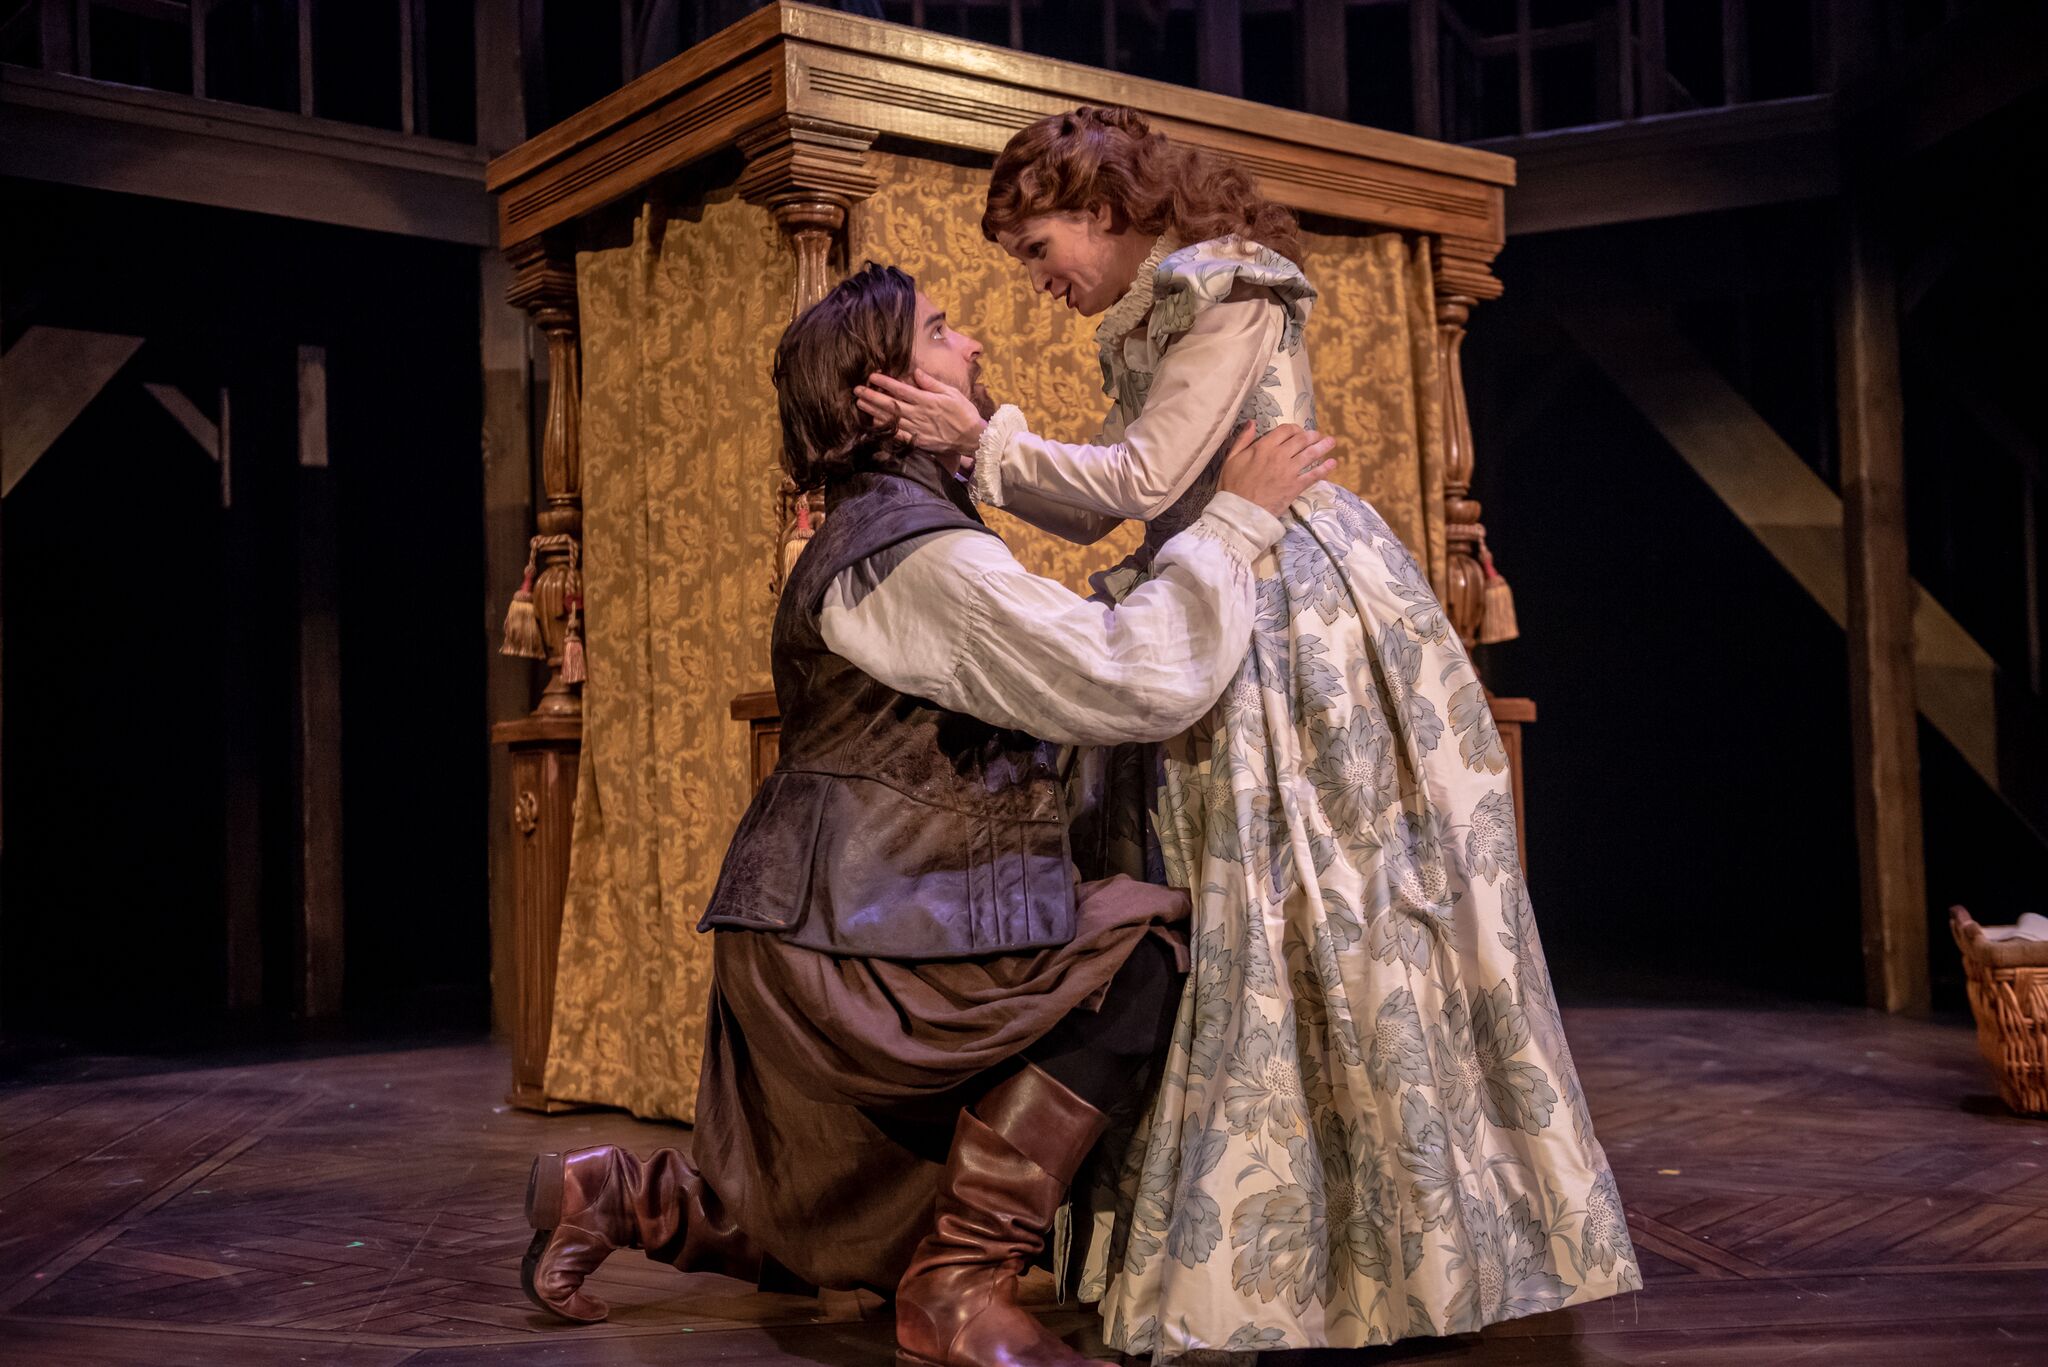
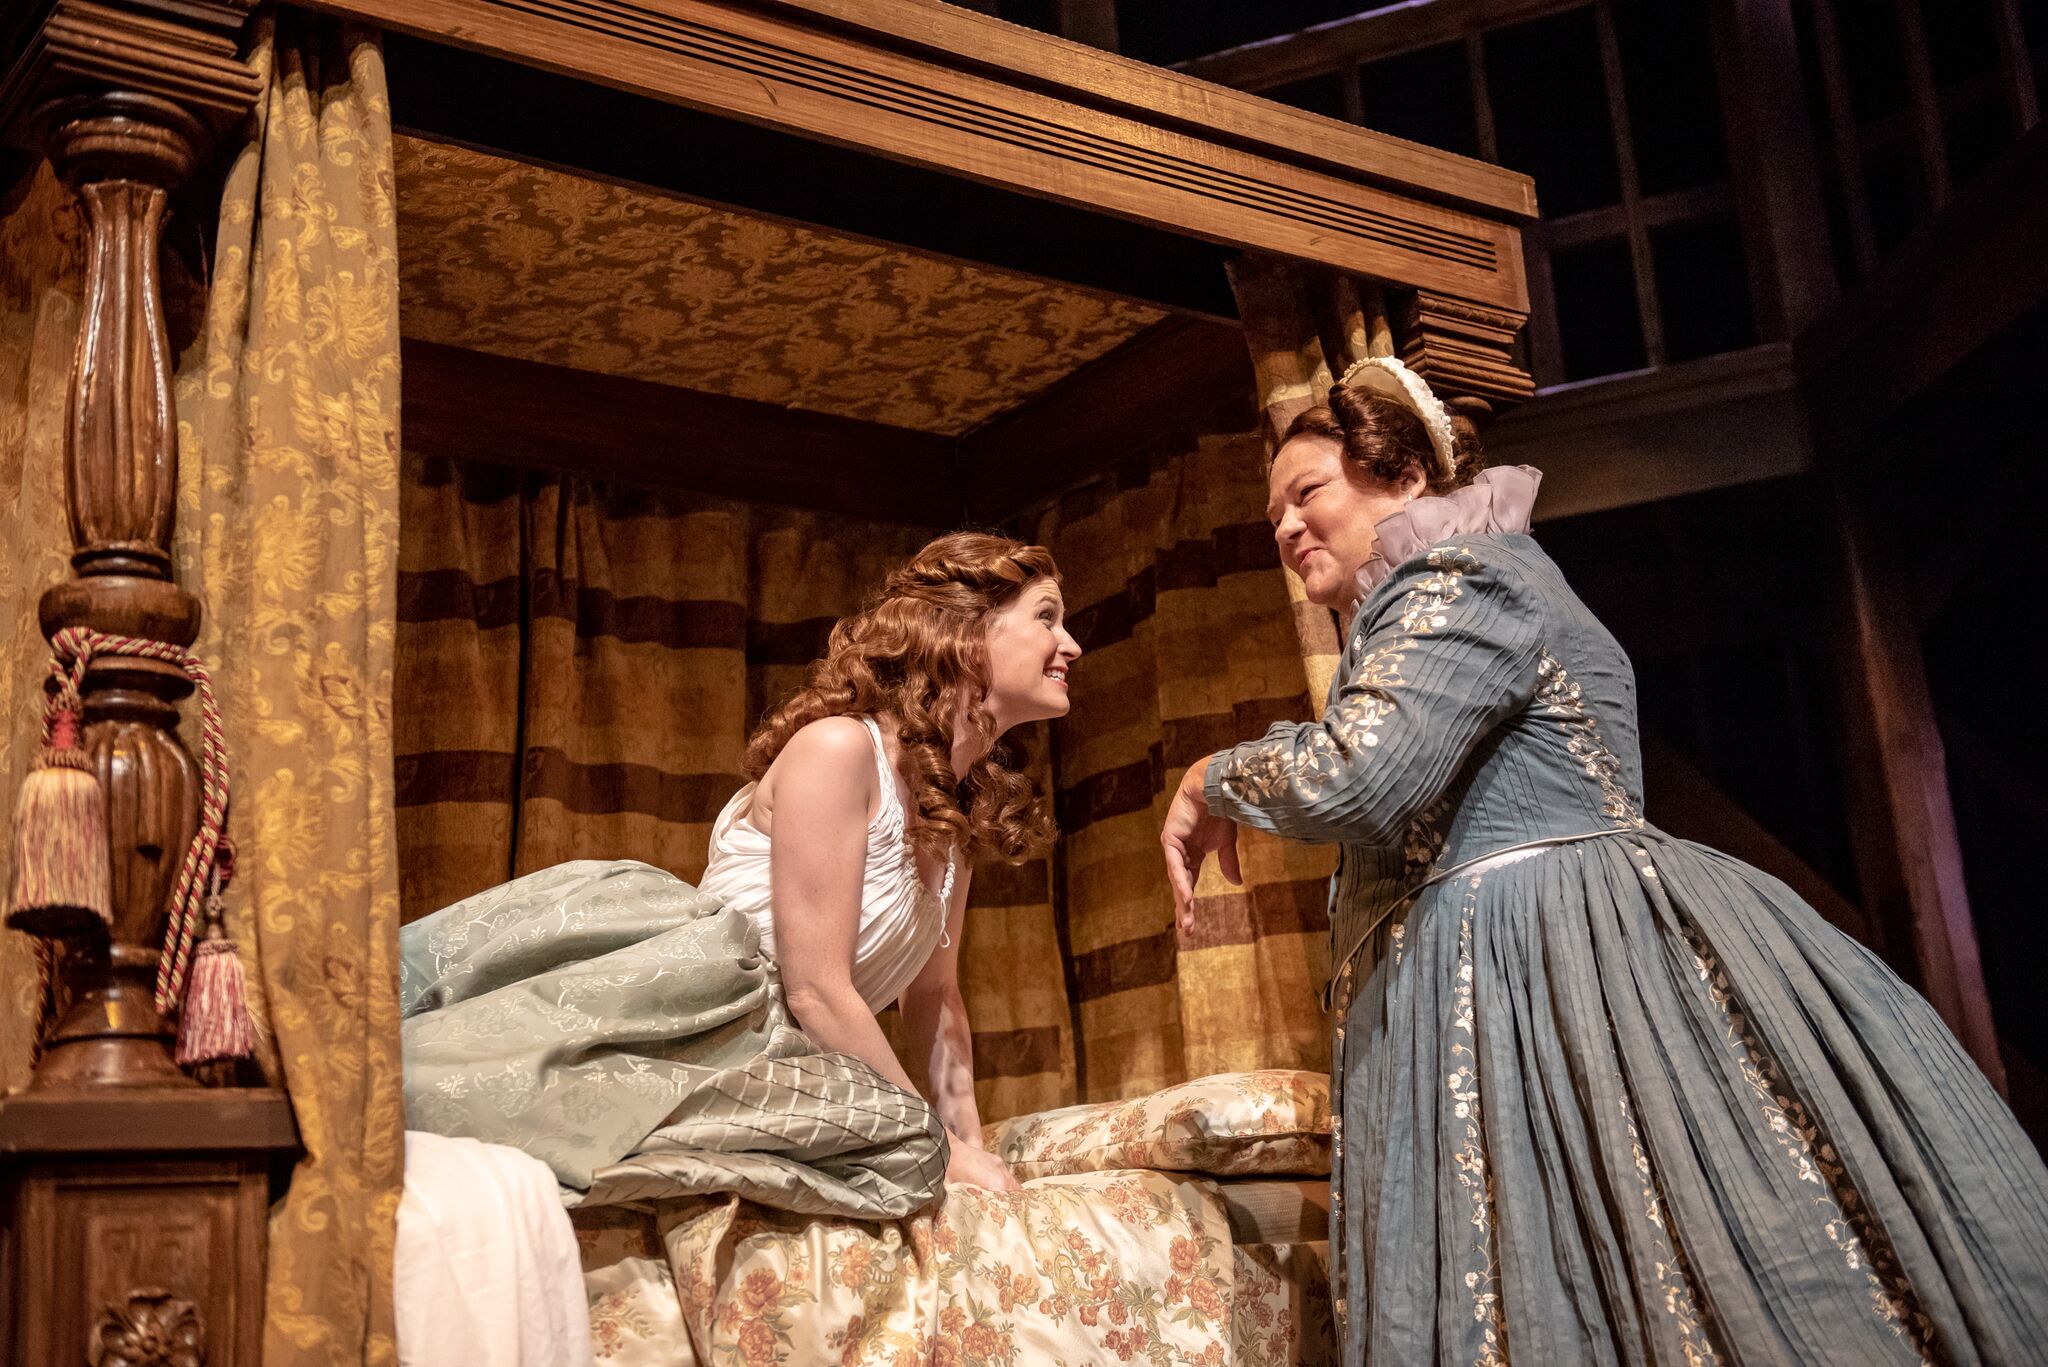
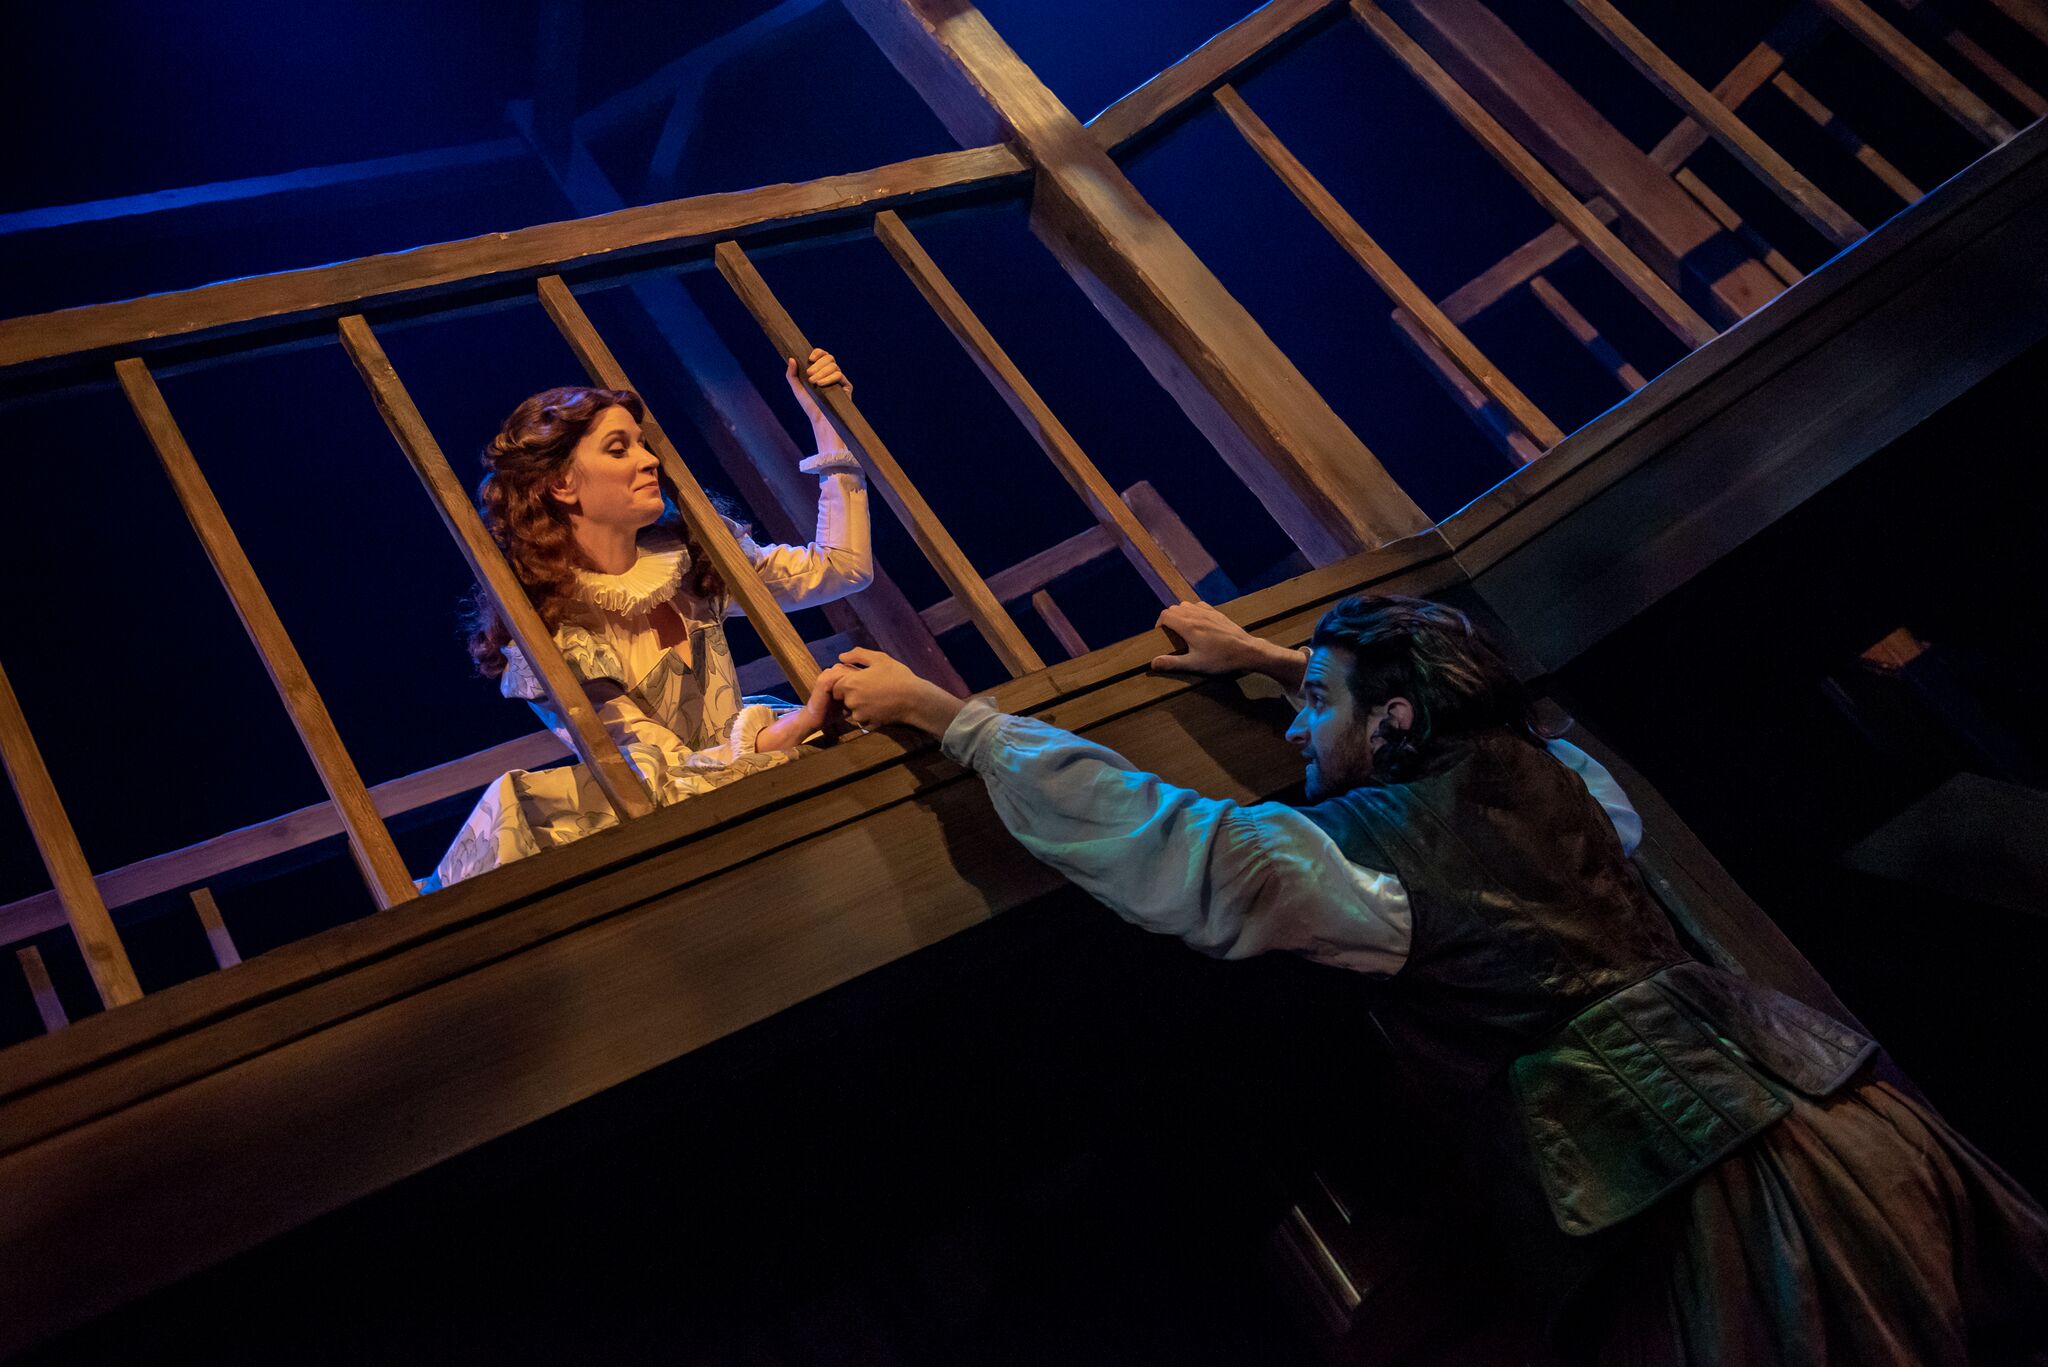
How Do I Love Thee?
Angels and Heroes
Dir: Richie Wilcox
Photo: Stoo Metz
Costume: Emlyn Murray, Set: Wes Babcock

How Do I Love Thee?
Angels and Heroes
Dir: Richie Wilcox
Photo: Stoo Metz
Costume: Emlyn Murray, Set: Wes Babcock

How Do I Love Thee?
Angels and Heroes
Dir: Richie Wilcox
Photo: Stoo Metz
Costume: Emlyn Murray, Set: Wes Babcock

How Do I Love Thee?
Angels and Heroes
Dir: Richie Wilcox
Photo: Stoo Metz
Costume: Emlyn Murray, Set: Wes Babcock

How Do I Love Thee?
Angels and Heroes
Dir: Richie Wilcox
Photo: Stoo Metz
Costume: Emlyn Murray, Set: Wes Babcock

How Do I Love Thee?
Angels and Heroes
Dir: Richie Wilcox
Photo: Stoo Metz
Costume: Emlyn Murray, Set: Wes Babcock

How Do I Love Thee?
Angels and Heroes
Dir: Richie Wilcox
Photo: Stoo Metz
Costume: Emlyn Murray, Set: Wes Babcock
LV Imagery

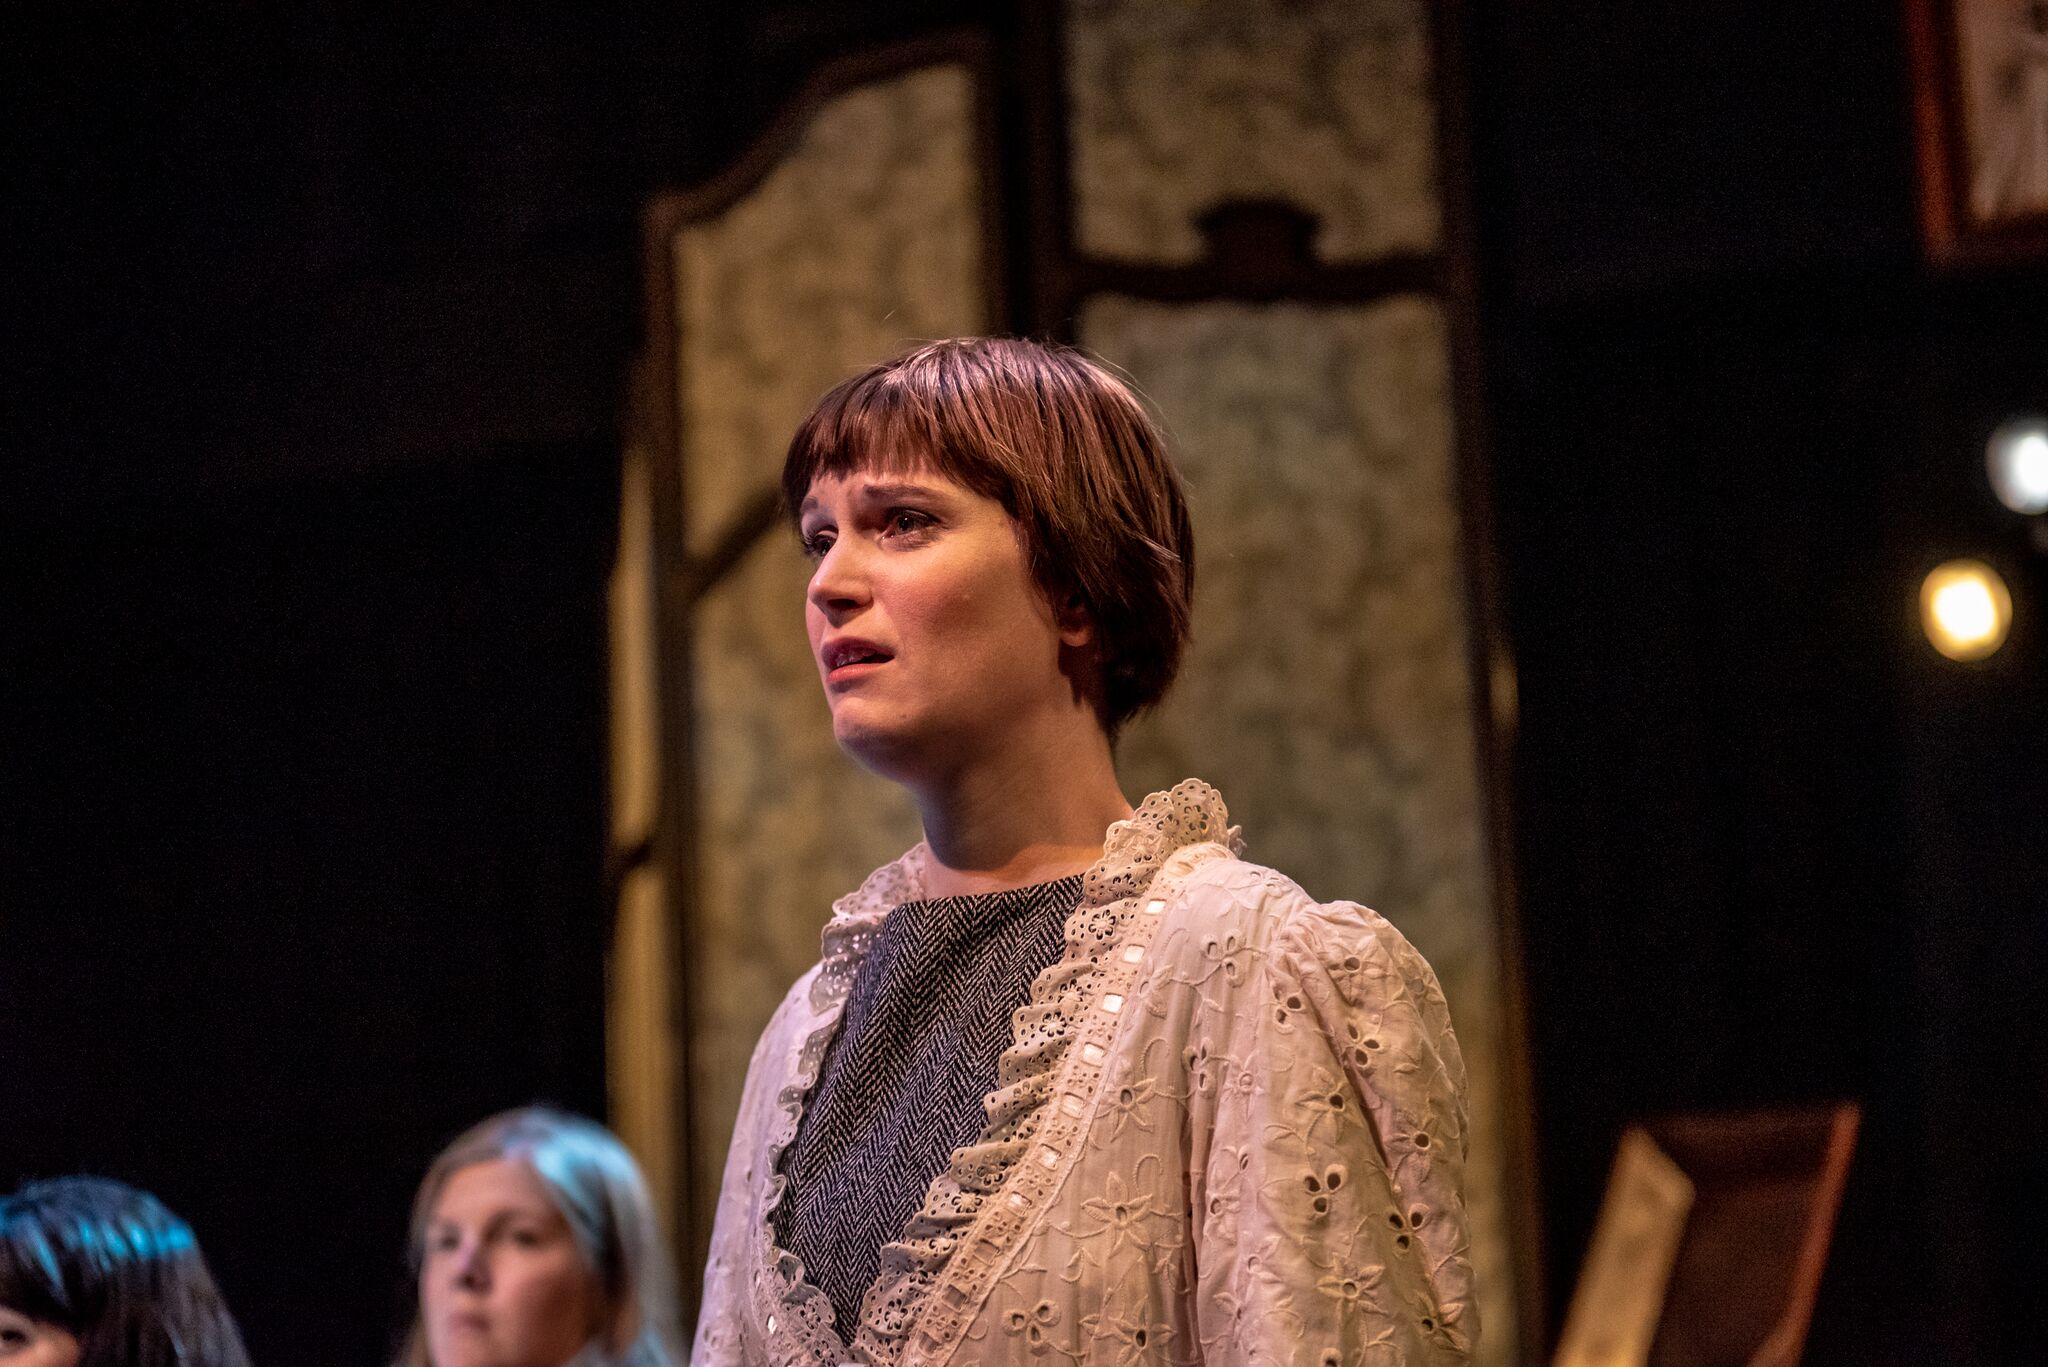
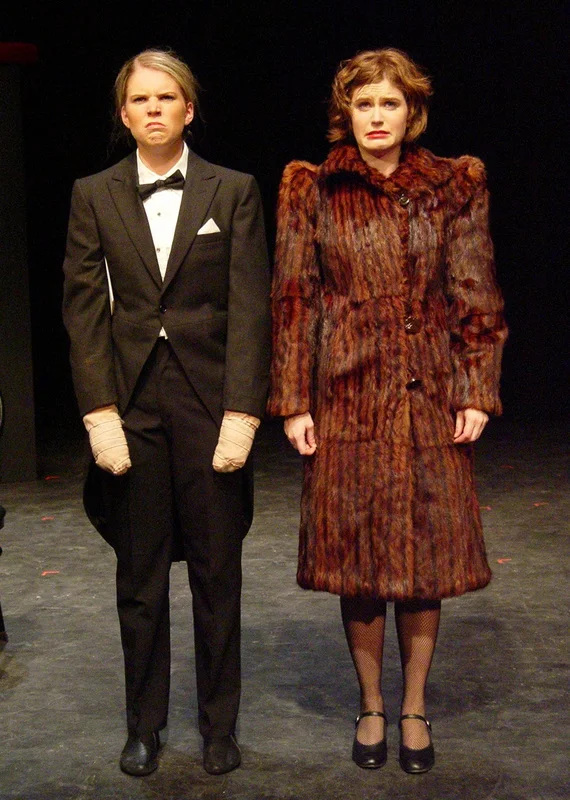
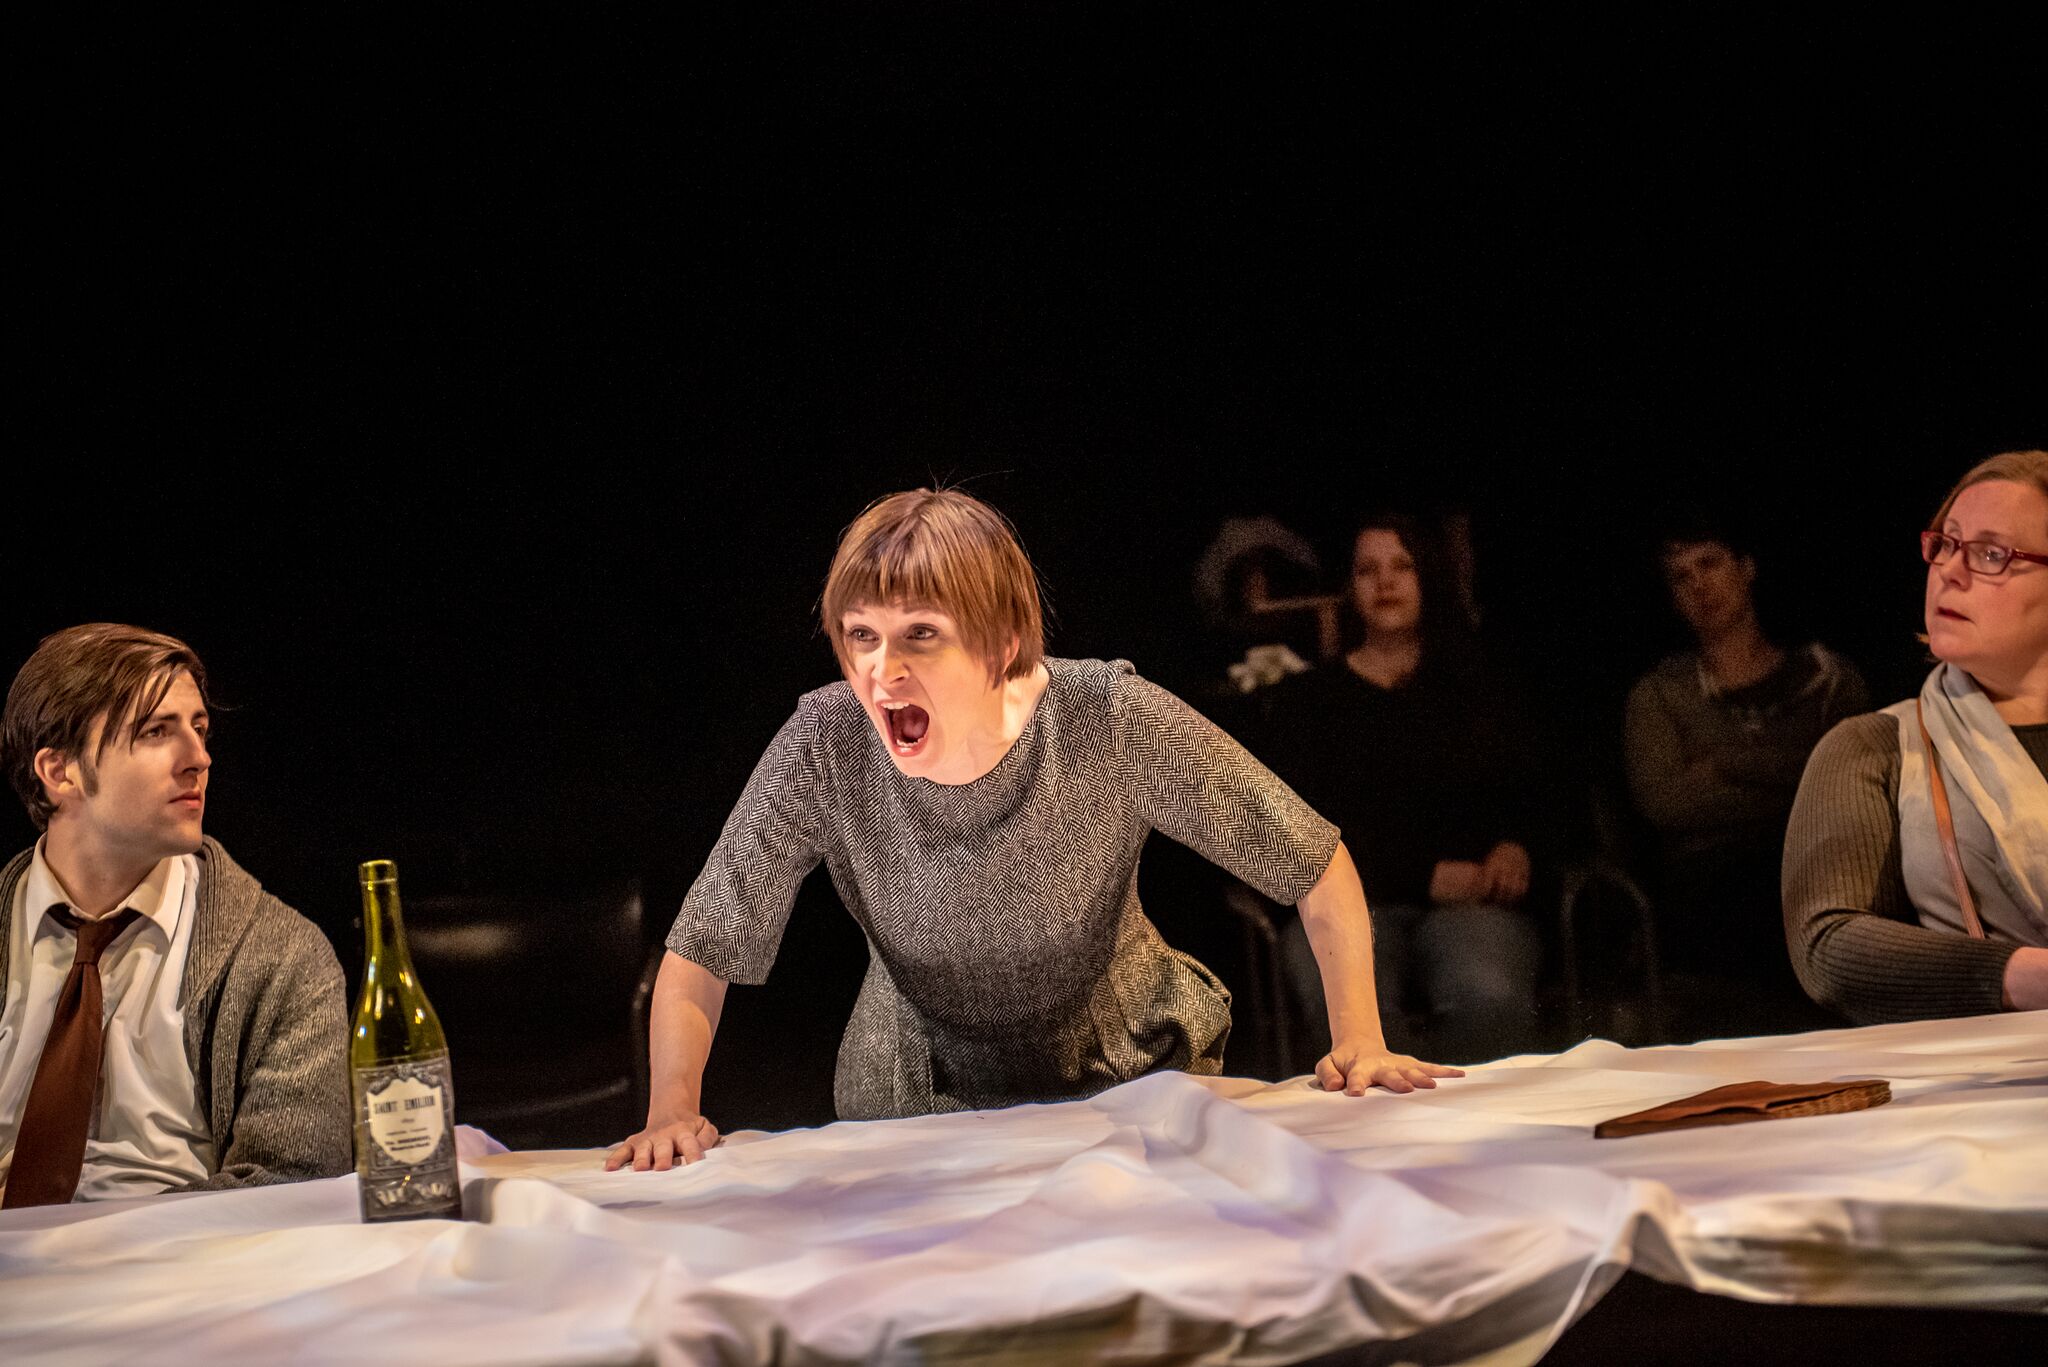
Macbeth
WillPower Theatre
Dir: Ken Schwartz
Photo: Stoo Metz
Costume: Sarah Haydon Roy, Lighting: Susann Hudson

Macbeth
WillPower Theatre
Dir: Ken Schwartz
Photo: Stoo Metz
Costume: Sarah Haydon Roy, Lighting: Susann Hudson

Macbeth
WillPower Theatre
Dir: Ken Schwartz
Photo: Stoo Metz
Costume: Sarah Haydon Roy, Lighting: Susann Hudson

Macbeth
WillPower Theatre
Dir: Ken Schwartz
Photo: Stoo Metz
Costume: Sarah Haydon Roy, Lighting: Susann Hudson

Macbeth
WillPower Theatre
Dir: Ken Schwartz
Photo: Stoo Metz
Costume: Sarah Haydon Roy, Lighting: Susann Hudson

Macbeth
WillPower Theatre
Dir: Ken Schwartz
Photo: Stoo Metz
Costume: Sarah Haydon Roy, Lighting: Susann Hudson
LV Imagery
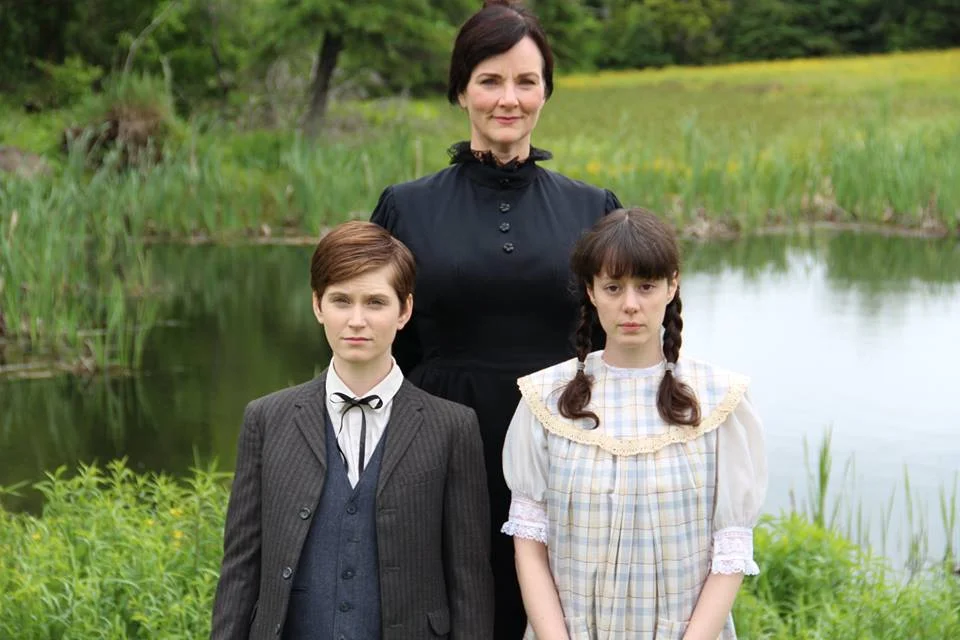
The Turn of the Screw
Two Planks and a Passion Theatre
Dir: Ken Schwartz
Photo: Ken Schwartz
Costumes: Jennifer Goodman

The Tempest
Two Planks and a Passion Theatre
Dir: Ken Schwartz
Costumes: Jennifer Goodman
Photo: Tim Richard

As Ever
Mulgrave Theatre
Dir: Ann-Marie Kerr
Photo: Michael De Sadeleer
Costumes: Victoria Marsden

As Ever
Mulgrave Theatre
Dir: Ann-Marie Kerr
Photo: Michael De Sadeleer
Costumes: Victoria Marsden

Romeo & Juliet
Neptune Theatre
Dir: George Pothitos
Photo: Applehead Studio

Romeo & Juliet
Neptune Theatre
Dir: George Pothitos
Photo: Applehead Studio

Romeo & Juliet
Neptune Theatre
Dir: George Pothitos
Photo: Applehead Studio
LV Imagery

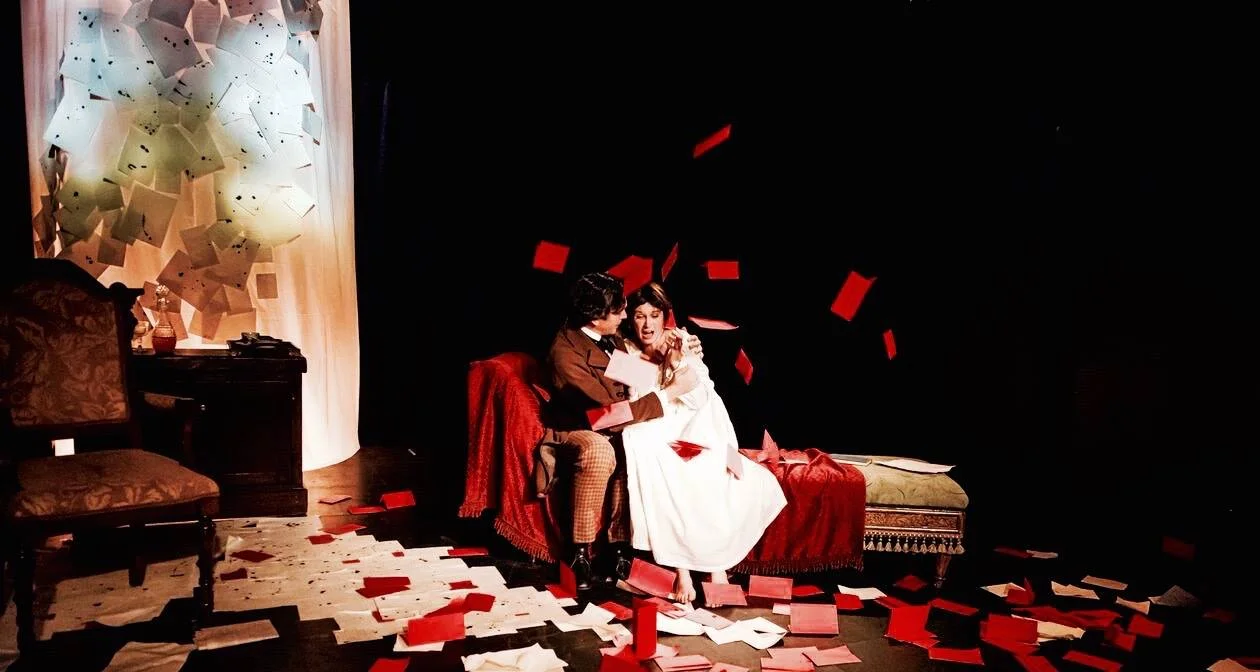
Offline
Talk is Free Theatre
Dir: Jakob Ehman
Photo: Luca Ragogna
Costumes: Lindsay Dagger, Set: Joe Pagnan

Offline
Talk is Free Theatre
Dir: Jakob Ehman
Photo: Luca Ragogna
Costume: Lindsay Dagger, Set: Joe Pagnan

Offline
Talk is Free Theatre
Dir: Jakob Ehman
Photo: Luca Ragogna
Costume: Lindsay Dagger, Set: Joe Pagnan

The Bourgeois Gentleman
DalTheatre
Dir: Jure Gantar
Photo: Ken Kam

A Dream Play
DalTheatre
Dir: Alex Maclean
Photo: Ken Kam
A History of the American Film
DalTheatre
Dir: Rob Mcclure
Photo: Ken Kam
LV Imagery


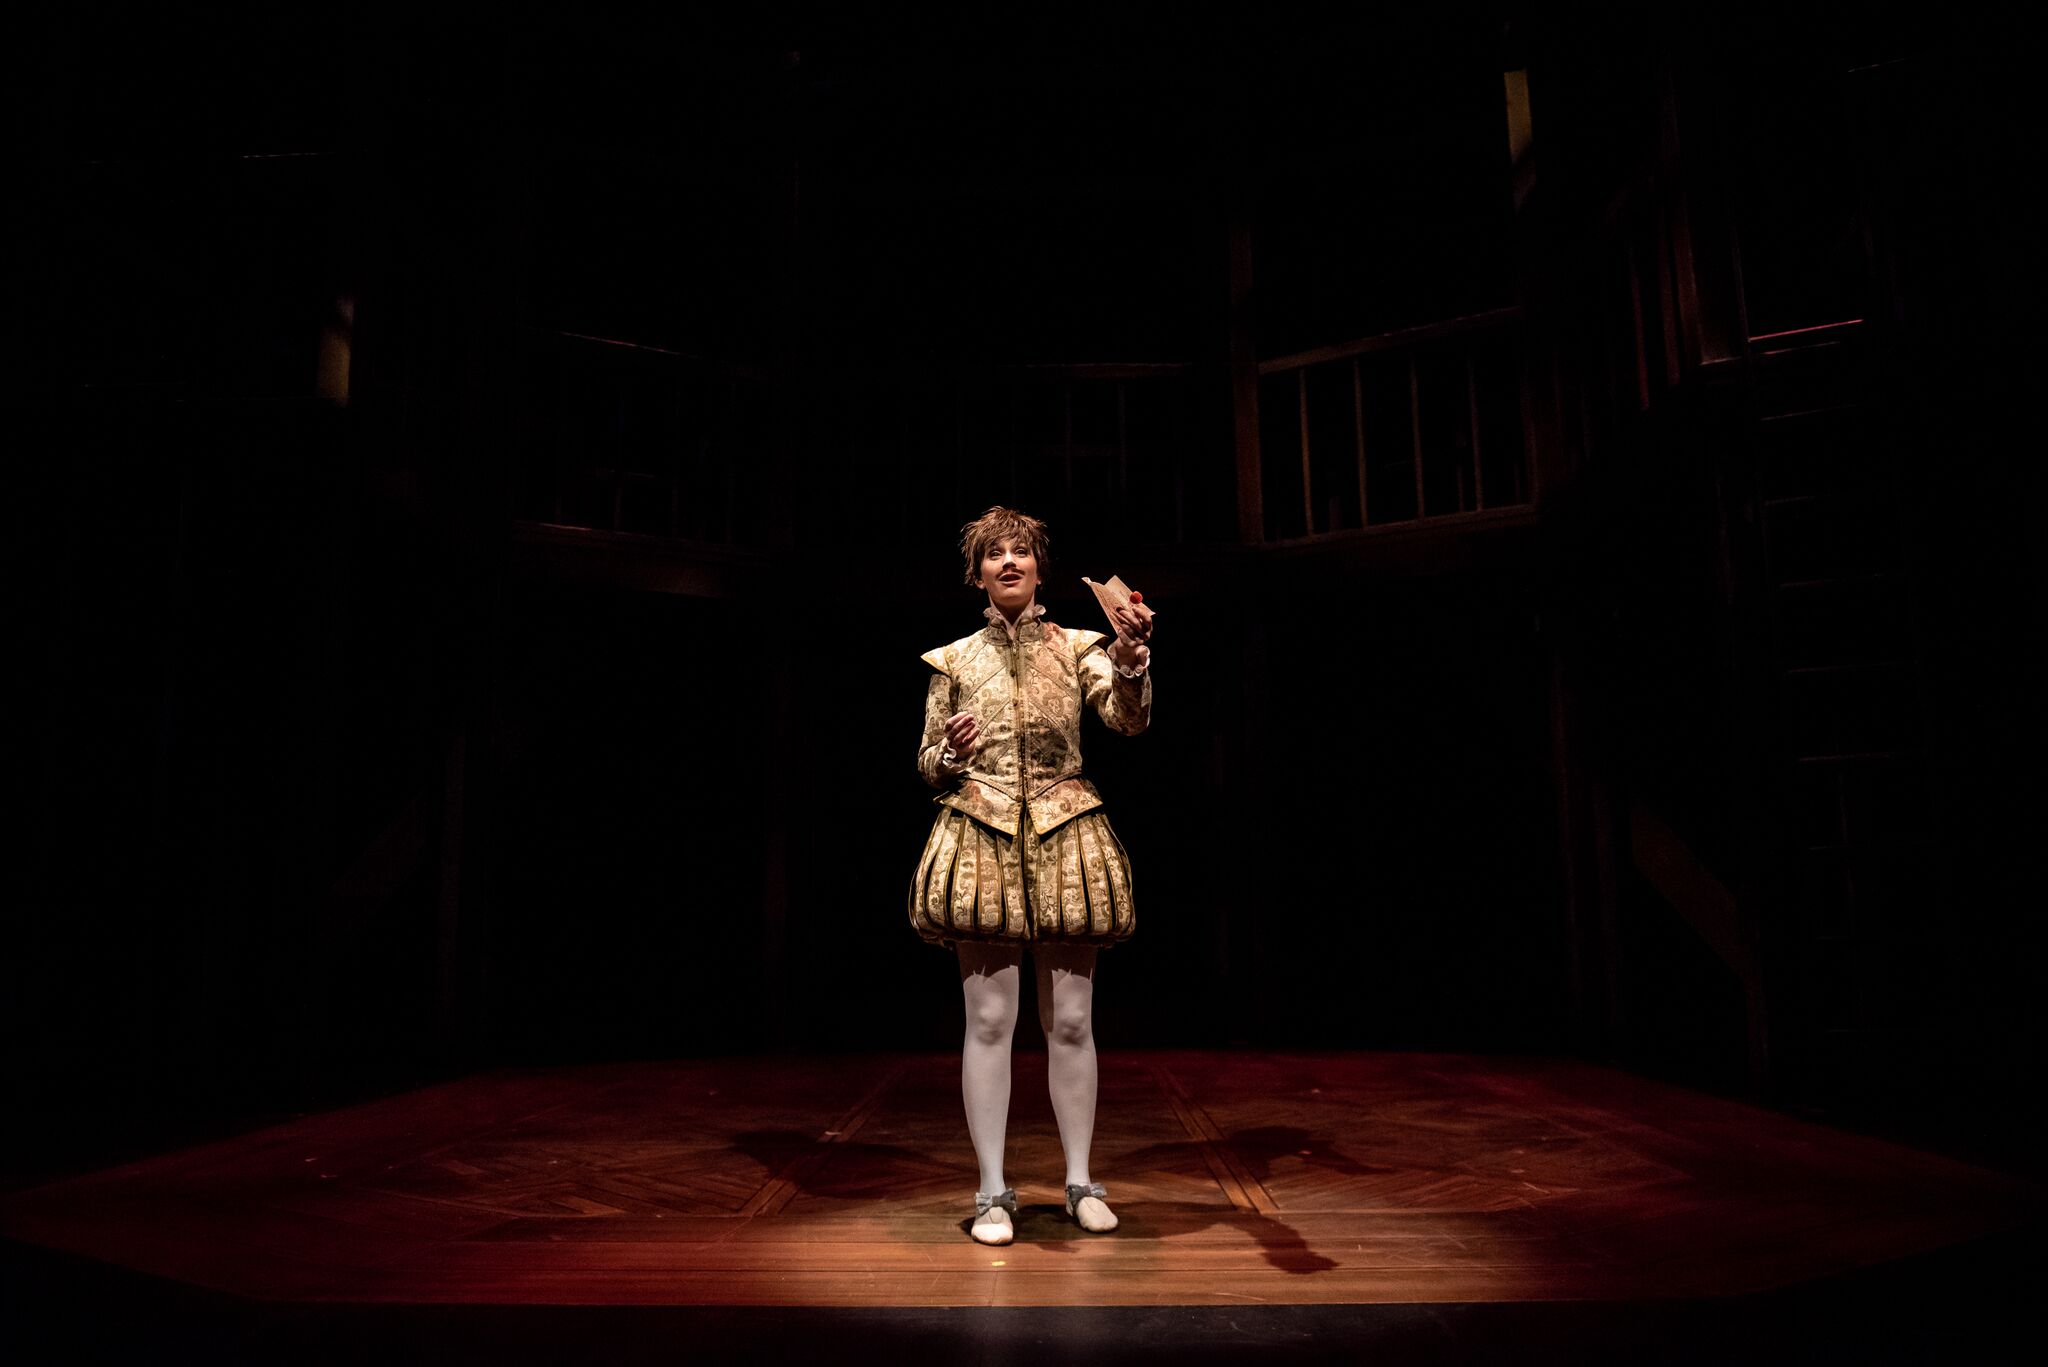
Hamlet
Below the Salt
Photo: Stoo Metz
Costume: Jennifer Goodman
Lighting: Susann Hudson